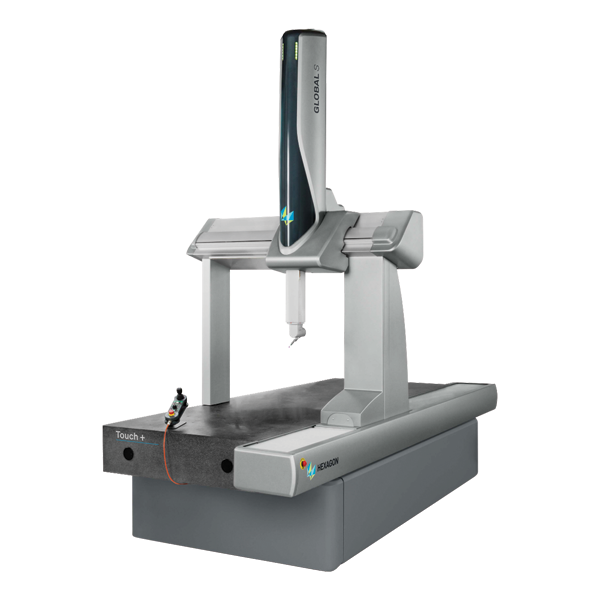
Typical applications:
- Machined mechanical parts,
- Plastic injection moulded parts
- Hinge joints
General-purpose measurement of size features:
- Parts of varying complexity and size
- Standard geometric size features: distances, radii, angles, inner and outer diameters
- Position and orientation tolerances
- Complex 3D arrangement of geometric elements around the part
Benefits:
- Rapid inspection
- Simple methodology
- Versatile measurements
- CAD-based measurement
6-way touch-trigger probe mounted on an automatic probe head:
- Highly repeatable 3D point measurement on all sides of a workpiece
- Fastest accessibility to complex geometries with difficult‑to‑reach measuring positions.
Flexible probe module changer rack
- Adjust configurations to the application with automated exchange of probe modules during the measurement routine without recalibration.
Sturdy mechanical design
The solid granite base with integrated dovetail guide guarantees long‑term system stability and consistent accuracy over the entire measurement volume.
High-speed and safety
Continuous monitoring of a defined safety area around the CMM allows worry-free high-speed measurement in CNC mode. The machine will slow down automatically when the user or an object encroaches upon the protected area.
Messaging lights
Messaging lights give operators the ability to monitor the machine’s status even from a distance, to optimise time and resource management.
Future-ready concept
The future‑ready pre‑cabling enables easy adaptation of the CMMs to future measurement tasks without costly downtime. A range of adaptability options can be flexibly selected during initial CMM configuration or set up later as upgrades.
Temperature compensation
Real‑time compensation of thermally caused measurement deviations through temperature sensing at the scales and on the workpiece ensures reliable measurement results.
Bridge with triangular crossbeam
Featuring an improved stiffnessto- mass ratio relative to square or rectangular traverses, this design allows for the highest dynamics and high‑speed measurements.
Preloaded air bearings on all axes
Contactless, low-friction and lowwear axis motion ensures fast and repeatable positioning at all speeds and accelerations, resulting in low measuring uncertainties.
Real-time system monitoring
PULSE enables the user to monitor and log any environmental conditions surrounding the CMM and receive real‑time machine information.
Extended temperature operating range
Measure your components with more resistance to environmental influences. An extended temperature operating range (15 – 30°C) allows the CMM to operate closer to the production line without needing a costly climate room.
Low-maintenance belt drive system
Flat and V-ribbed belts ensure smooth and low-vibration axis motion.
Multisensor versatility
Using the widest range of tactile and optical sensors with Hexagon’s universal sensor interface, the CMM becomes a multisensory inspection device that can adapt to the most complex measuring tasks with fully automatic sensor exchange during a measurement cycle.

