Internal Micrometers

Bore measurement is more difficult than external measurement of components. Apart from the very tight tolerances specificied, all measuring elements having a direct influence on the uncertainty of measurement must be designed in such a way that they can fit into the bore to be checked.

3-Line contact offers a true advantage
The near perfect auto-centering and auto alignment provided by TESA IMICRO, TESA TRI-O BOR, ALESOMETER and ETALON INTA -LOMETER make bore measurement reliable, without the need for an operator to estimate.

A single tool can replace hundreds of plug gauges
Unlike plug gauges that check only one toleranced size, a single tool can measure many diameters. Depending on the model that is being used, through holes and blind bores along with short centring shoulders can be inspected reliably.

Establishing form errors
Form errors are established through measurements taken at several points within a bore. Micrometers with 3-line contact determine run-out errors in a triangular way. Micrometers with 2-point contact measure medium-size diameters only. They do not allow users to see what makes diameters measured at various points different.
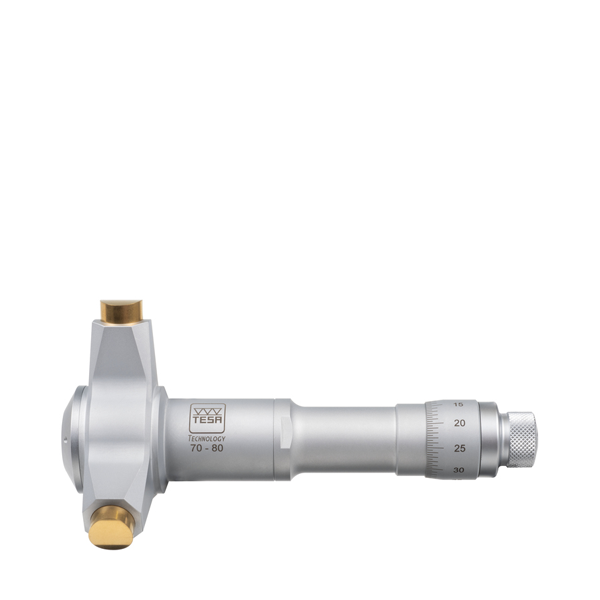
TESA IMICRO with Analogue Indication – Metric
TESA IMICRO with Analogue Indication – Full Metric Sets
TESA IMICRO CAPA μ SYSTEM with Digital Display
TESA IMICRO CAPA μ SYSTEM with Digital Display – Full Sets
TESA IMICRO Capa μ System with Digital Display – Partial Sets
Cases for Sets of IMICRO Analogue
Accessories for Both TESA IMICRO and TESA IMICRO Capa μ System – Extensions for Deep Hole Measurement
ROCH ALESOMETER with Analogue Indication, Metric
ROCH ALESOMETER with Analogue Indication – Full Metric Sets
TESA ALESOMETER Capa μ System with Digital Display
TESA ALESOMETER Capa μ System with Digital Display – Partial Sets and Components
ETALON INTALOMETER 531
ETALON INTALOMETER 531, Metric Sets
TESA TRI-O-BOR
TESA TRI-O-BOR, Full Sets
Setting Standards for internal micrometers

    Request form


    Product of interest