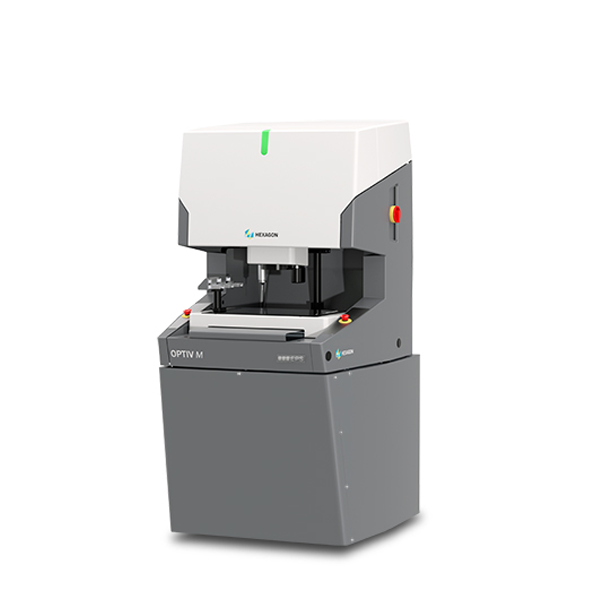
OPTIV M 3.2.2 is designed to adapt readily to future smart technologies and changing production requirements.
The flexible OPTIV M preconfigurations are future-ready, enabling manufacturers to easily expand their application capabilities with field installable upgrade kits. In addition to the EPS packages configured for flexibility, throughput, precision or shop-floor capability, Hexagon offers a customised version of the OPTIV M 3.2.2.
OPTIV M 3.2.2
Enhanced Productivity Multisensor CMM
The OPTIV M 3.2.2 benchtop multisensor coordinate measuring machine (CMM) draws on the strength of Hexagon’s Enhanced Productivity Series (EPS) to provide manufacturers of precision parts with a range of pre-configured EPS packages optimised for their individual applications and production targets.
High-speed measurement
The OPTIV M 3.2.2 is built to enhance throughput with fast accurate scanning and features include a low-vibration granite construction allowing for high axis speeds and accelerations.
Accuracy
Designed to ensure high levels of accuracy, the OPTIV M 3.2.2 incorporates precision recirculating ball bearing guides on all axes, an incremental, optoelectronic length measuring system with a resolution in the nanometre range and parametric temperature compensation, which provides temperature stability. Further options include a base frame and active vibration dampers.
Full range of multisensor capabilities
The OPTIV M 3.2.2 works with a full range of sensors to deliver high-speed measurement, accuracy and versatility. It comes with a vision sensor with a high-resolution digital CMOS colour camera and a programmable 10x motorised zoom lens. Variable illumination enables the high contrast illumination of complex surfaces and edges, through the use of a coaxial LED top light, a telecentric LED back light and a multi-segment LED ring light. Further sensor options include a high-resolution digital CMOS monochrome camera, a programmable 6x motorised zoom lens, a fixed focal length dual camera optics (OPTIV Dual Camera) with changeable lenses, the off-axis laser triangulation sensor OPTIV LTS, a chromatic white light sensor (CWS), a touch-trigger probe HP-TM and a stylus module changer rack HR-MP with up to three ports, as well as a scanning probe HP-S-X1 and a styli changer rack HR-X with up to five ports. An optional rotary indexing table can be used to automatically reveal hidden features to sensors. An optional automation integration kit with I/O box enables the integration of the CMM into individual automation environments.
Ease of use
PC-DMIS metrology software provides intuitively easy workflows that drive higher throughput and smarter data capture. Features include full range of scanning methods, comprehensive CAD support including automatic measurement routine creation and extensive offline programming capabilities. Inspect meanwhile makes it simple to select and execute routines in a shop-floor production environment. Inspect Slideshow is available as an option to help production-level CMM operators immediately identify and resolve manufacturing defects with graphical real-time feedback on custom key dimensions. And Inspect Pallet provides a simple interface for configuring a pallet or measuring a batch of parts.
Data analysis
Q-DAS software delivers powerful statistical analysis of product and process data, including SPC and real-time visualisation of measurement data, measurement system analysis and process capability analysis.
Real-time environmental monitoring for metrology environments
PULSE uses a network of sensors to record variations in temperature, vibration and humidity in the vicinity of your CMM. PULSE also offers equipment status alerts and crash notifications.
Factory asset management
The OPTIV M 3.2.2 comes with HxGN SFx | Asset Management ready to activate. It provides real-time reports on the CMM’s performance, status and use, remotely or on-site, all from a user-friendly dashboard.

