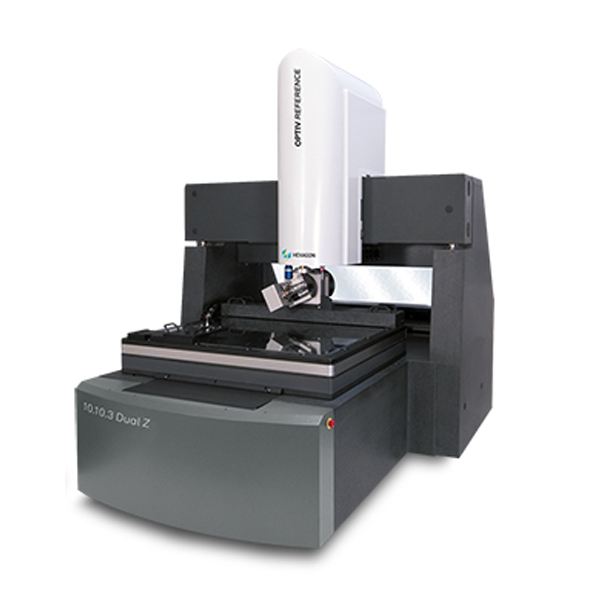
OPTIV Reference high accuracy CMMs deploy the full capabilities of Hexagon’s OPTIV Dual technology to drive productivity and are the ideal solution for complex, high-precision 3D part measurements.
Perfect for use in measuring labs or high precision manufacturing environments, the OPTIV Reference is the OPTIV range’s most accurate multisensor CMM, providing measuring accuracies in the sub-micron range.
OPTIV Dual Z technology, which reduces set up and inspection times, is available for use on all OPTIV Reference models, as are an extensive range of sensors and accessories for enhancing throughput and precision, including motorised indexing probe heads, touch-trigger and scanning probes, laser sensors, chromatic confocal sensors, rotary tables or stacked rotary tables.
High accuracy
The OPTIV Reference has air bearings on all axes and an incremental, optoelectronic length measuring system with a resolution in the nanometre range. Active vibration dampers are available as an option.
Throughput enhancements
The OPTIV Reference can be equipped with OPTIV Dual Z design to reduce setup and inspection times by mounting tactile and optical sensors on two independent vertical axes.
Full range of multisensor capabilities
The OPTIV Reference is compatible with a full range of sensors to deliver high speed measurement, accuracy and versatility, including a vision sensor with a high-resolution digital CMOS colour camera and a programmable 10x motorised zoom lens. Variable illumination enables the high contrast illumination of complex surfaces and edges, through the use of a coaxial LED top light, a telecentric LED back light and a multi-segment LED ring light. Further sensor options include a high-resolution digital CMOS monochrome camera, a fixed focal length dual camera optics (OPTIV Dual Camera) with changeable lenses, a chromatic white light sensor (CWS), a touch-trigger probe HP-TM and a stylus module changer rack HR-MP with up to six ports, as well as a scanning probe HP-S-X1 and a styli changer rack HR-X with up to nine ports and the motorised indexing probe head HH-A-T51). An air bearing CNC rotary table and air bearing CNC stacked rotary tables (OPTIV Dual Rotary)1) are also available as options and simplify accessibility to all measuring positions via workpiece rotation, avoiding multiple setups and fixturing of the part.
Ease of use
PC-DMIS metrology software provides intuitively easy workflows that drive higher throughput and smarter data capture. Features include full range of scanning methods, comprehensive CAD support including automatic measurement routine creation and extensive offline programming capabilities. Inspect meanwhile makes it simple to select and execute routines for anyone seeking to protect measurement routine integrity. Inspect Slideshow, which is available as an option, helps production-level CMM operators to immediately realise and resolve manufacturing defects with graphical real-time feedback on custom key dimensions. And Inspect Pallet provides a simple interface for configuring a pallet or measuring a batch of parts.
Data analysis
Q-DAS software delivers powerful statistical analysis of product and process data, including SPC and real-time visualisation of measurement data, measurement system analysis and process capability analysis.
Real-time environmental monitoring for metrology environments
PULSE uses a network of sensors to record variations in temperature, vibration and humidity in the vicinity of your CMM. PULSE also offers equipment status alerts and crash notifications.
Factory asset management
The OPTIV Reference comes with HxGN SFx | Asset Management software ready to activate. It provides real-time reports on the CMM’s performance, status and use, remotely or on-site, all from a user-friendly dashboard.
Choice of measuring ranges
Three measuring ranges are available:
OPTIV Reference 5.4.3: 530 x 400 x 300 mm
OPTIV Reference 7.6.3: 730 x 600 x 300 mm

